
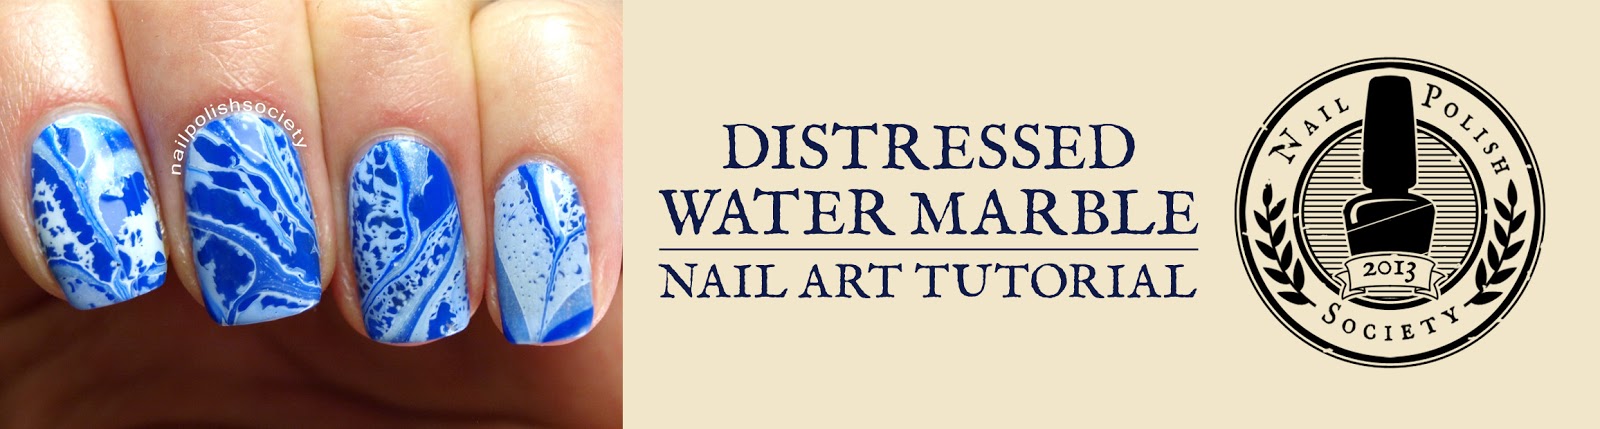

Hello all my wonderful Society ladies! I asked for some feedback on what you would like to see more of on Nail Polish Society, and the majority of you said you want more tutorials. So guess what.. I listened! I got a really good response when I debuted my amazing Distressed Water Marble nails recently, and wanted to share this technique with everyone. Now I have a tutorial so you can try it for yourselves!

What you'll need:
- cup (not styrofoam!) full of filtered, room-temperature water
- tape to prep skin for easy cleanup, or vaseline
- perfume, body spray, hairspray- something with a pump spray and high alcohol content
- toothpicks, orange stick, or dotting tool to create design in polish and cleanup
- polishes that you've tested and know spread out well in the water
What to do:
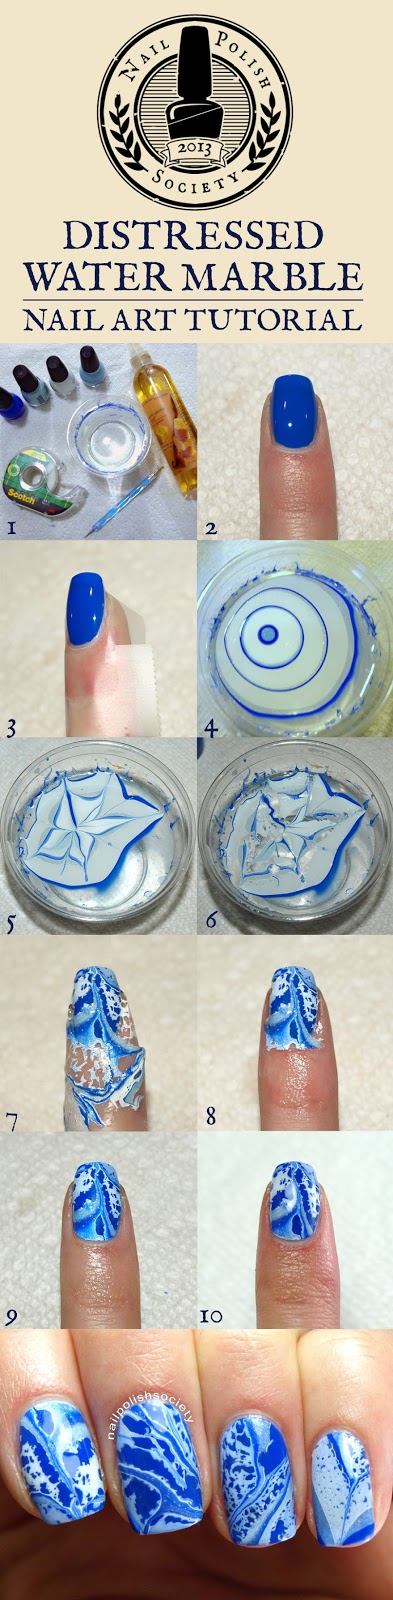
- Get all your tools, and water ready. Have your polishes prepared with all the lids unscrewed.
- Apply base color that will contrast against one or all shades in your water marble.
- Prep around nail by taping over the skin for easy cleanup. You could also use Vaseline on your skin to help the polish easily wipe off. It works really well, but I personally end up getting Vaseline all over my bottles, etc.
- Start your water marble by adding a drop of polish in the water. Do this close to the water surface. You can even touch it to the water if you struggle to get the drop off the brush. Don't drop it from too high or it will sink to the bottom. Repeat this process until multiple rings are formed.
- Create design by dragging an instrument through the polish. Do this quickly as the polish will start drying.
- Spray perfume/hairspray/alcohol at about a distance of four to six inches (10 to 15 centimeters). You can experiment with the distance to create different effects. After you spray the polish once or twice, give it a few seconds to break apart.
- Choose a section of the design you like and place a nail over it, then dip it in. Keep your nail under the surface of the water until you have removed the excess polish off the surface of the water with instrument. You can do more than one nail at a time if there is more than one section you want to use, and if your fingers can reach it. Remove finger from the water.
- Carefully remove tape.
- Cleanup excess polish off skin and cuticle with q-tip and acetone, or for a more precise and lint-free solution, use a short and stiff bristled cleanup brush.
- Apply a generous amount of topcoat (I prefer fast-drying formulas) to avoid smearing the polish, as it will be delicate. Start with one big dollop and lightly spread it to cover the nail. Let it dry. You're finished! Sit back and enjoy your beautiful nails :)


Polishes I used:
Sinful Colors Endless Blue- royal blue
Sinful Colors Cinderella- light blue with pink microglitter
Sinful Colors Snow Me White- white
Seche Vite top coat
I would love to see your interpretation! If you try it, show off your creation on my facebook page, or by hashtagging #hellonailpolishsociety on twitter,
I hope this tutorial is helpful. Feel free to share it! Let me know in the comments what you think, and if you have any questions!
Wow, this looks so awesome! I really love it with the blues and whites. Thanks for the tutorial!
ReplyDeleteThank you!
DeleteThat is so cool! I have seen water-spotted, and of course water-marbling, but never both together! So creative and SO neat looking. Thank you for the tutorial!
ReplyDeleteThank you so much! I'm glad you liked it as much as I do!
DeleteI love these! Your colour combination is great!
ReplyDeleteThank you! I agree the colors look good together.
DeleteOh wow this is amazing! Mine never came up this awesome looking.
ReplyDeleteThanks! I took me a while to get it this good!
DeleteAwesome. .. I love it. I will try it for sure
ReplyDeleteI would love to see!
DeleteWonder Woman does it again! Thanks for the awesome tutorial. :)
ReplyDeleteYou're welcome! I want to see you try it!
DeleteNice tutorial!
ReplyDeleteI just tried water marble for my Easter mani and I love it! I need to try distresed water marble too. :)
That was a lovely water marble of yours! You should try it, I would love to see!
Delete